Blog
How to Use Diabetes Machine at Home

If you are living with diabetes mellitus, checking your blood sugar regularly is very important. But don’t feel nervous if you are learning how to use a blood sugar machine for the first time.
In this guide, I will show you how to use diabetes machine or how to check blood sugar at home properly. This step-by-step guide will help you feel confident in monitoring your blood sugar levels at home.
How to Use Diabetes Machine Step-by-Step
Follow these simple steps to use a diabetes machine, also called a blood glucose meter or glucometer:
Step 1: Wash and Dry Your Hands
Start by washing your hands with soap and warm water. Wash your hands carefully for at least 20 seconds. Then rinse well.
This step is very important. Dirty hands can affect your blood sugar reading. Even small traces of food or sugar on your fingers can give inaccurate results.
After washing, dry your hands completely with a clean towel or tissue. Wet fingers can dilute the blood sample and change the reading.
Try not to use lotion or oily products before testing.
Step 2: Insert a Test Strip Into the Machine
Now take a new test strip and insert it into your blood glucose meter.
Most glucose meters turn on automatically when you insert the strip. Make sure you insert it the correct way.
Always use strips that match your machine model. Different machines use different strips.
Also, check the expiration date on the strip container. Expired strips may not work properly and can give incorrect readings.
Close the strip container immediately after taking one strip out. This protects the remaining strips from moisture and damage.
Step 3: Prepare or Set the Provided Lancet
Next, prepare the lancet device, which is a small needle used to prick your fingertip. Insert a new lancet into the lancing device according to the instructions.
Many devices allow you to adjust the depth setting. If you have sensitive skin, choose a lower setting. If it is difficult to get blood, you may need a slightly deeper setting.
Always use a fresh lancet for better hygiene and less pain. After inserting it, remove the protective cap from the lancet.
Step 4: Clean the Fingertip with Alcohol
Take an alcohol swab and gently clean the side of your fingertip. The side of the fingertip is usually less painful than the center.
Cleaning the area helps reduce the risk of infection. It also removes dirt and oils that may affect the blood sample.
Use gentle pressure while cleaning. There is no need to scrub hard.
Step 5: Wait 30 Seconds for the Fingertip to Dry
Wait about 30 seconds after cleaning your finger. Your fingertip must dry completely before you prick it.
If alcohol is still wet on the skin, it can dilute the blood sample. This may lead to an inaccurate reading.
Do not blow on your finger to dry it. Just let it air dry naturally.
Step 6: Prick the Side of the Fingertip

Place the lancing device against the side of your fingertip. Then press the release button to prick the skin.
You may feel a quick pinch, but it usually lasts only a second.
Avoid pricking the same spot every time. Rotate fingers and testing areas to prevent soreness and skin thickening.
If needed, gently massage your hand downward before pricking. This can help improve blood flow.
Step 7: Gently Squeeze to Get a Drop of Blood
After pricking your finger, gently squeeze or massage the finger until a small drop of blood appears.
Do not squeeze too hard. Excessive pressure can mix tissue fluid with the blood and affect the result.
A small round drop is usually enough for most machines.
If you cannot get enough blood, try warming your hands first next time. Warm hands improve circulation.
Step 8: Touch Blood to the Test Strip
Now bring the edge of the test strip to the blood drop. Hold the strip steady until the machine confirms it has enough blood.
Do not smear the blood across the strip unless your machine instructions say to do so.
Most modern strips automatically absorb the blood sample. Usually, the meter will beep or start counting down automatically.
Step 9: Wait for the Reading
Your diabetes machine will now process the blood sample within a few seconds. During this time, keep the machine steady and avoid touching the strip.
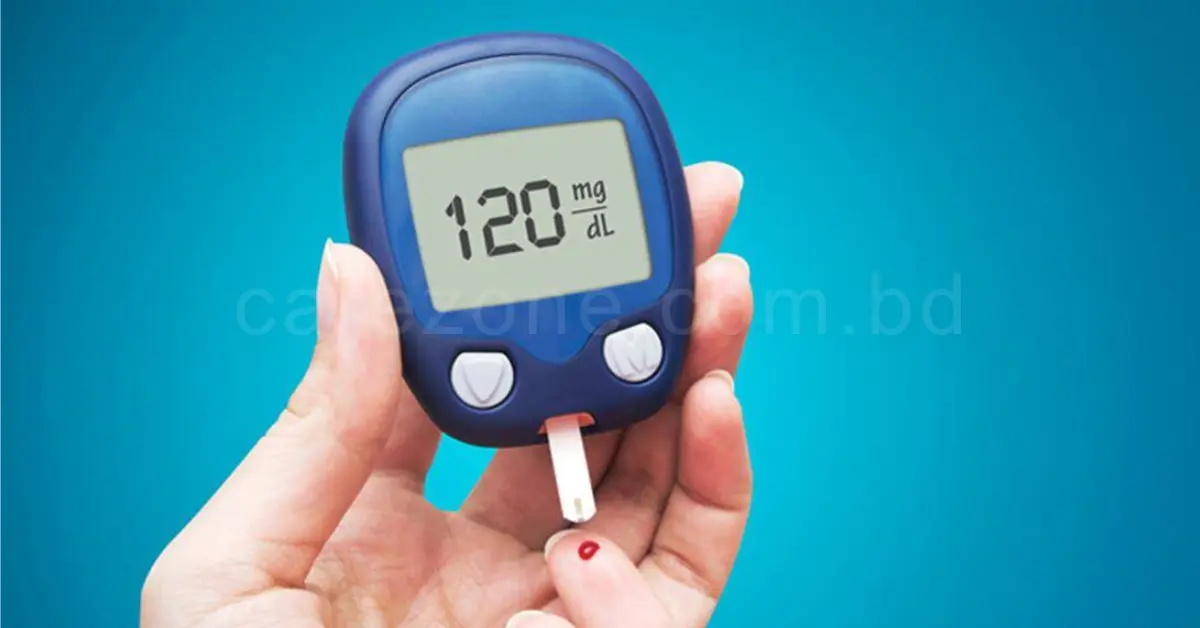
Once the test is complete, your blood sugar reading will appear on the screen.
Some machines also store previous readings automatically for tracking.
Step 10: Note the Result Quickly
After you see the result, write it down or save it in your health app.
You may want to record:
- The date and time
- Your blood sugar reading
- Whether you tested before or after eating
- Any symptoms you felt
Regular tracking is very helpful for diabetes management. Keeping track of your blood sugar levels helps you and your doctor understand patterns and make better treatment decisions.
Step 11: Dispose of the Strip and Lancet
Finally, safely throw away the used test strip and lancet.
Remove the lancet carefully from the device. Never reuse old lancets. Reusing them can cause pain and infection.
Place used lancets in a sharps container if possible. If you do not have one, use a hard plastic container with a secure lid. And throw away the used test strip in the trash unless local guidelines say otherwise.
After disposing of everything, clean your glucose meter if needed and store it in a safe, dry place.
Additional Tips for Better Blood Sugar Monitoring
Here are a few extra tips that can help you get better testing and readings:
- Use fresh test strips and lancets
- Store strips in a cool, dry place
- Check the expiration dates regularly
- Follow your doctor’s testing schedule
- Keep your diabetes machine clean
Watch the following video for further clarification on how to use diabetes machine at home properly.
Final Words
Now you know how to use diabetes machine at home correctly. So, follow the correct process to make home diabetes testing easy, safe, and reliable. Regularly monitor blood sugar to stay aware of your health and take better control of your diabetes every day.
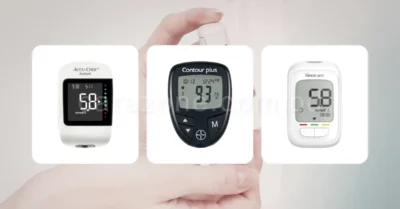
Also note that the quality of the glucometer also matters. Choose a trusted seller to buy high-quality diabetes machines for reliable results and better long-term performance.